Migrating from WordPress to Gatsby - The Journey
December 15, 2019
Yes, this topic is worth a post and I will walk you through why the migration was inevitable, and how I had done it.
Formerly, this website used to run on WordPress, the great PHP CMS. The design was made with the aid of Typography theme, I loved it!
All of the post prior to this date was written using the WordPress admin dashboard. I loved the Gutenberg Editor, it was so fluid and easy to work with. Overall my experience was great.
The Scenario
Sometimes, installing software updates as end user could daunt the total experience of the user, in a case where the most beloved feature could be stripped or the presence of a bug somewhere which could be shipped unintentionally with the update. My own case was none of these, my experience was a total breakdown of the site, and I did not know why.
Fortunately, I trust so much that when installing WordPress on my hosting server, I opted for auto install new updates. This particular feature is a serial killer, and has not killed just this particular website twice, it also killed another website of mine too.
How it happened
On a fateful day, I got a message from one of my readers stating that my website is down, I felt it was something not really serious, and as a techy person, I could fix it on time. I went into the WordPress admin dashboard and it was looking all well. I looked at everywhere including the logs, I found no clue on what I could do to make it right. It was an embarrassment to my personality (a tech guy).
I got depressed and worried, this meant that I could not serve my website’s content anymore, even though they were somewhere in the cloud? I sought for a solution and I remembered, Gatsby is a very cool guy to deal with.
After a lot of deliberations, and giving my mind the needed time and space, I finally concluded, I would gain a whole lot using Gatsby as a platform and framework than being on WordPress. Few of my reasons were:
- It is blazingly fast!
- It was written with JavaScript (My first love!)
- It gives a full control and total customization
- Free hosting through Netlify
The Path
- Learning Gatsby
- Installing Gatsby and choosing a theme
- Customizing the look.
- Device testing
- Pulling posts from the old WordPress setup
- Hosting the website
Learning Gatsby
Firstly, I had to learn Gatsby through its very resourceful documentation. This was easier than I had thought, and the features they provide enshrined my belief that it is the most modern static site generator, so far.
It has far new, but beautiful concepts for its routing, content fetching and asset management. All of these, I thought have been implemented with every level of user’s expertise in mind.
With Gatsby, you can go from writing zero codes by using themes which still give you the level of customization the framework provides, or by using a starter to emphasize your genius.
I walked through the less technical path, I picked a theme that best suit my need.
Installing Gatsby and choosing a theme
Upon ensuring that I have substantial knowledge of Gatsby, I moved to initialize a new project for my website and choosing a theme I know would be good for me. This process took me a week of love and hate process.
Joke apart, I tried doing stuffs the genius way. Yes, many blogs and websites that run on Gatsby had done that, I thought, I would enjoy greater level of customization than using a theme, I was totally wrong.
After weeks of trying to be Alan Turing, I dropped down my hat to that level of novice and succumb to use a theme. I was all around looking for a nice looking theme that I could use, then I stumbled upon Theme UI Blog Theme, which answers all of my questions.
Fortunately for me, Gatsby itself has a starter that is based this beautiful UI library, so I opted for it.
So starting with the installation of Gatsby itself using npm, and ensuring that it is installed as a global package:
npm install -g gatsby-cli
This will install gatsby and make gatsby cli command available. Running gatsby --help should yield:
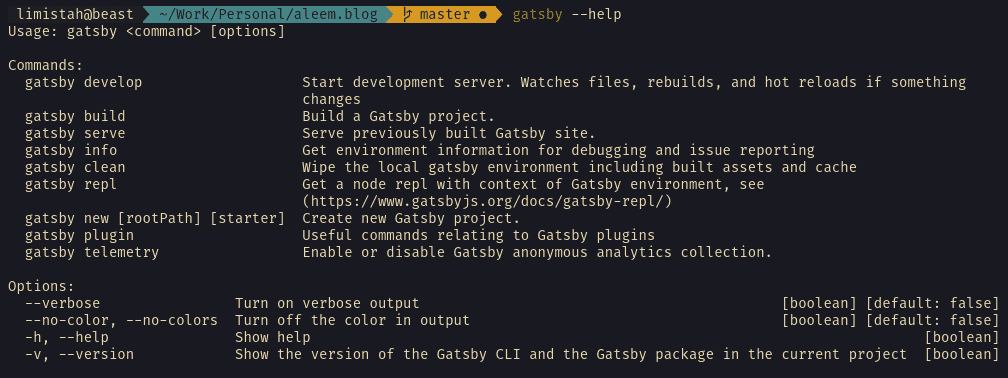
That’s one step forward.
I later initialized a blog using the command below:
gatsby new aleem.blog https://github.com/gatsbyjs/gatsby-starter-blog-theme
The above command creates a new Gatsby website in aleem.blog directory, and also ensures that the starter that I would be using has integration of Theme UI’s integration. This simplifies my bootstrap process, still, I have the level of customization that I can ever think of with Gatsby using this starter.
After a successful installation of the new website, the below command will run Gatsby in development mode:
gatsby develop
The result should be something like this:
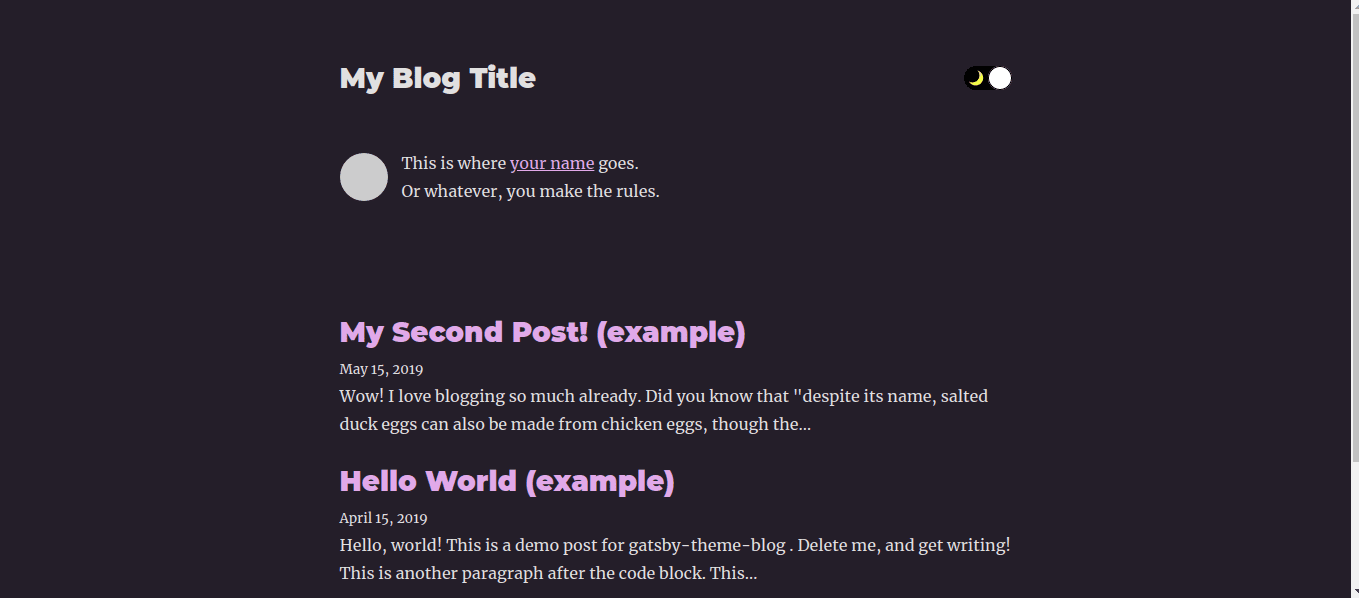
Customizing the theme’s look and feel
I love shades of purple, the theme comes with that by default, so I have no problem with the color at all. But, I do not like the way the page was structured, so I went to look deeper into the theme.
It happens that the theme expect that some files should be placed in a particular directory to override the default display.
Here is a list of the files the theme uses to render its layout:
| Filename | Location | Purpose |
|---|---|---|
| Bio Content | src/gatsby-theme-blog/components/bio-content.js | Author Biography |
| Bio | src/gatsby-theme-blog/components/bio.js | Parent and data provider for Bio Content |
| Footer | src/gatsby-theme-blog/components/footer.js | Posts page footer |
| Header | src/gatsby-theme-blog/components/footer.js | Website Header |
| Layout | src/gatsby-theme-blog/components/layout.js | Website General Layout |
| Post Footer | src/gatsby-theme-blog/components/post-footer.js | Footer for the post page |
| Post | src/gatsby-theme-blog/components/post.js | Single Post display renderer |
| Posts | src/gatsby-theme-blog/components/posts.js | All Posts listing |
| SEO | src/gatsby-theme-blog/components/seo.js | SEO utility |
| Switch | src/gatsby-theme-blog/components/switch.js | Dark Mode Switch |
| Color | src/gatsby-theme-blog/gatsby-plugin-theme-ui/color.js | Color configuration |
| Typography | src/gatsby-theme-blog/gatsby-plugin-theme-ui/typography.js | Theme UI Typography |
As seen above, all these are what renders our new site. I took enough time to work on each file to give me what I wanted.
The posts are expected to live at content/posts, I maintained that. The header is from Theme UI Recipes, the homepage is just a vertical grid, nothing complicated.
Device testing
Considering the various users that would stumble on the site, I ensure that while adding my customizations, I was checking for responsiveness all round. But that was not enough. I took time to get across screen sizes to see how it really look and feel.
Not until I found the fluidness, I tweaked until I got something like this:
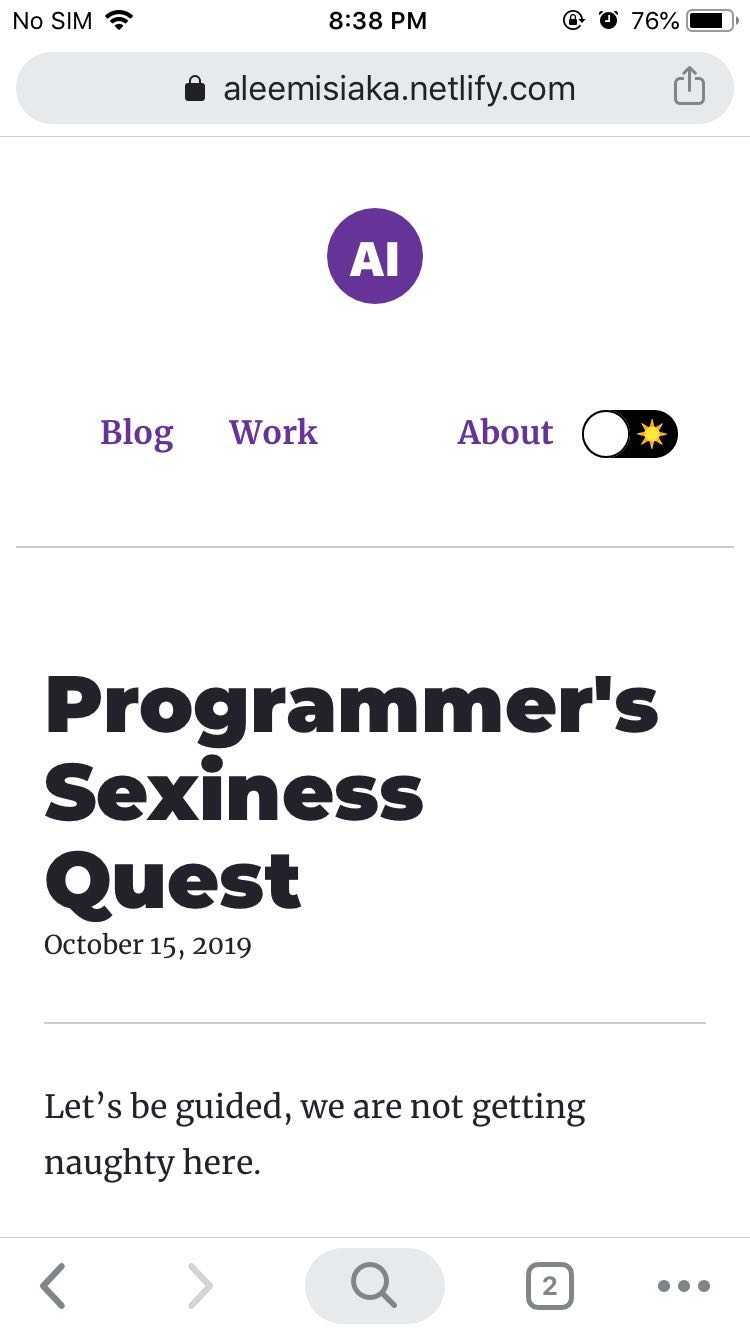
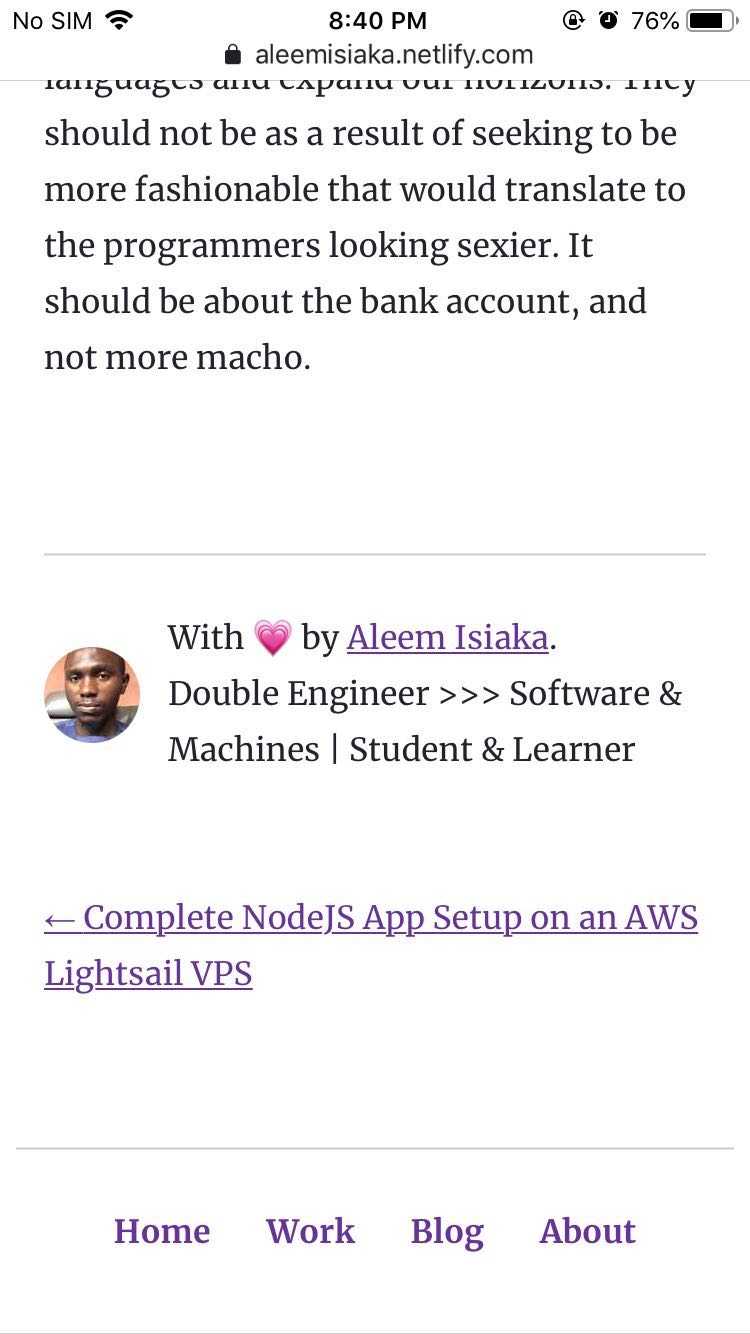
Pulling posts from the old WordPress setup
Fulfilling all righteousness, I did not write any code to pull the posts from WordPress. I did the posts migration manually, through copying and pasting.
Knowing when to write a program to simplify a task, and actually doing the task manually is a wisdom of its own. I had a few posts(less than 10), and I thought it would be best I do that manually which did save me some time from testing and debugging if I had written a program/library for it.
Nonetheless, if I would write a library to simplify the task, this is how I would do it:
- Export all posts from WordPress using their export tool.
- Get a suitable XML to HTML parser library on NPM.
- Get a suitable HTML to MD library on NPM.
- Parse the exported XML to HTML then to MD before saving it to the disk with each file named with the title of a post and containing the content of the post.
The above does not take care of assets like images and media. I faced an issue with asset referencing while pulling the posts, as I had done the posts manually, I downloaded all of the assets and placed them in the assets folder of the Gatsby setup.
It was not easy doing it manually, I believe it would be interesting to have a library that would do all of these to make future migrations easier. I might someday give it a thought.
Hosting the website
With Netlify, I faced no issue hosting the website and it was for free.
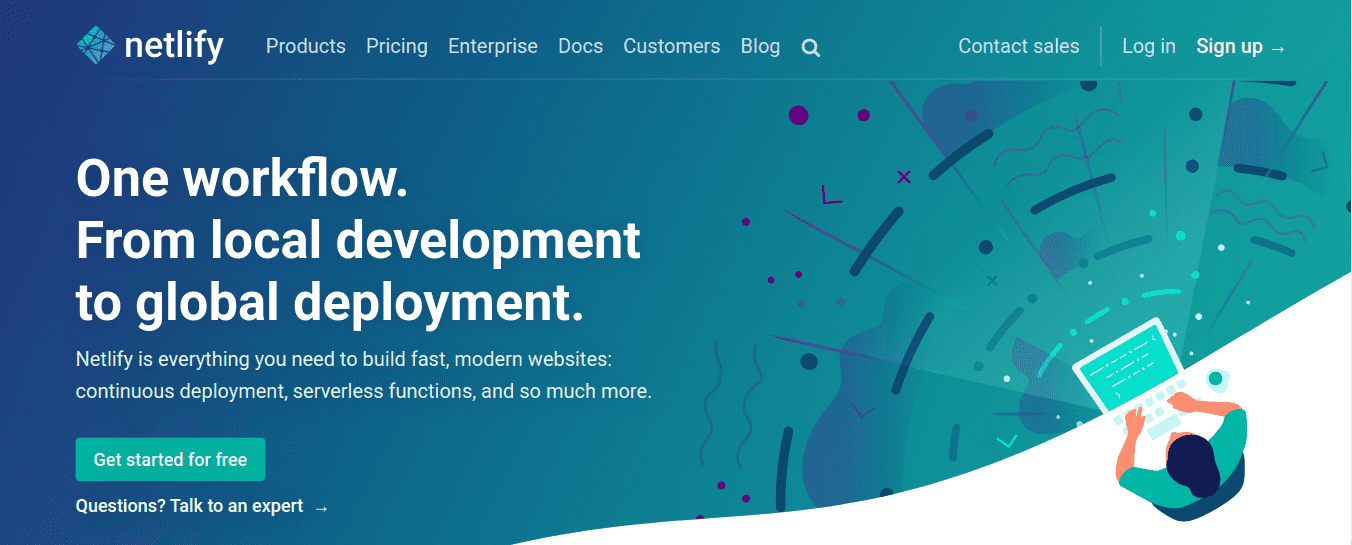
Creating a Netlify account is a breeze considering the amount of options that they provide, my account with them uses the Github integration, and it was pretty fast.
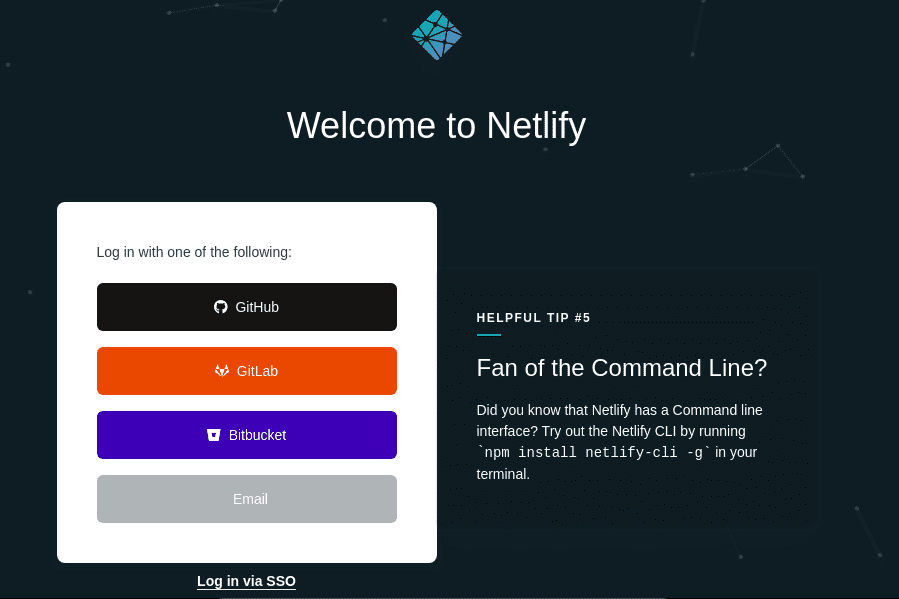
After my authentication and confirmation, I created a new application selecting Github as my code source. Netlify’s bot the rest of the process (building and serving the application).
In a matter of few minutes, the website came to live under a subdomain of Netlify which is the name of the application. The name looked really scary, so I changed that to reflect my name (aleemisiaka, of course).
And there we have it.
At the time of this writing, I have not pointed my domain to the Netlify application. I hope to move my domain registrar to Netlify, at least a means of saying “Thank you!”
Conclusion
It was not a rocket science. It was a matter of what needed to be done, and had to be done.
I am so glad to be part of the Gatsby ecosystem, I would look into projects that I can contribute to. If you have one, 📭 shoot me a dm!
🙇 Salut!
Edit on githubTweet